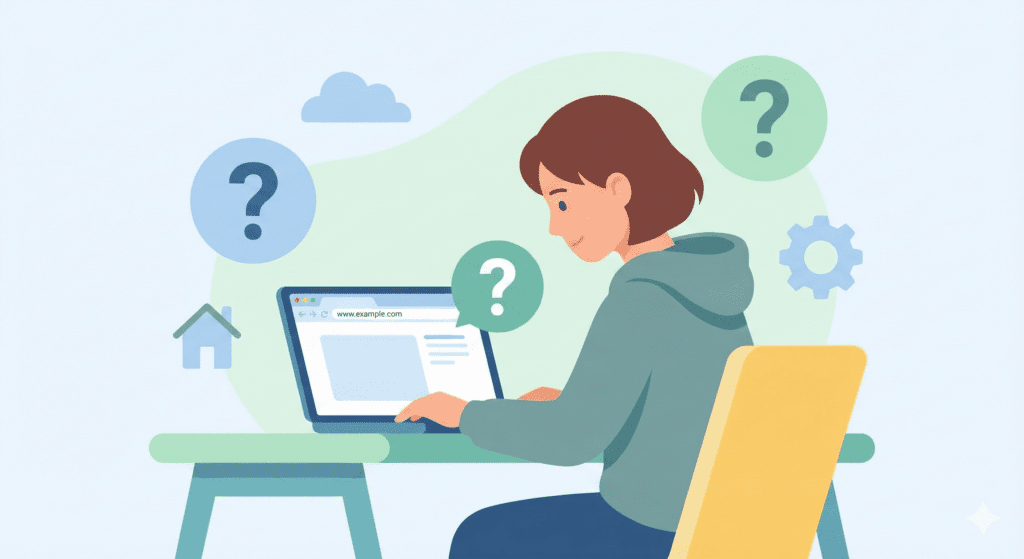
So you finally did it. You bought a domain. Nice! That’s an important step.
But now you’re probably thinking: “Bought a Domain, Now What?”
From my research, most beginners in the US get stuck right here. They’ve purchased a domain name, but they’re not sure how to use their domain or what the next steps should be.
Let’s keep it simple.
This guide will walk you through:
- What a domain really does
- How domain and hosting work together
- How to create a website
- And how to start building your brand and online presence
Here’s the thing: your domain is just the beginning.
Owning a domain name doesn’t mean you already have a website. It just means you’ve secured your name on the internet.
If you want a successful website, there are a few essential steps to take after buying a domain.
Let’s start.
Step 1: Understand What Your Domain Does
Before anything else, you should know what you actually bought.
What a domain name really is
A domain name is your website’s address, like:yourbrand.com
It helps people find you online.
That’s it.
Your domain is not your website. It doesn’t store pages, images, or content. Think of it as a name that points visitors to where your website lives.
You’ve completed domain registration, and now you’re officially owning a domain. That’s great for your brand name and future online presence.
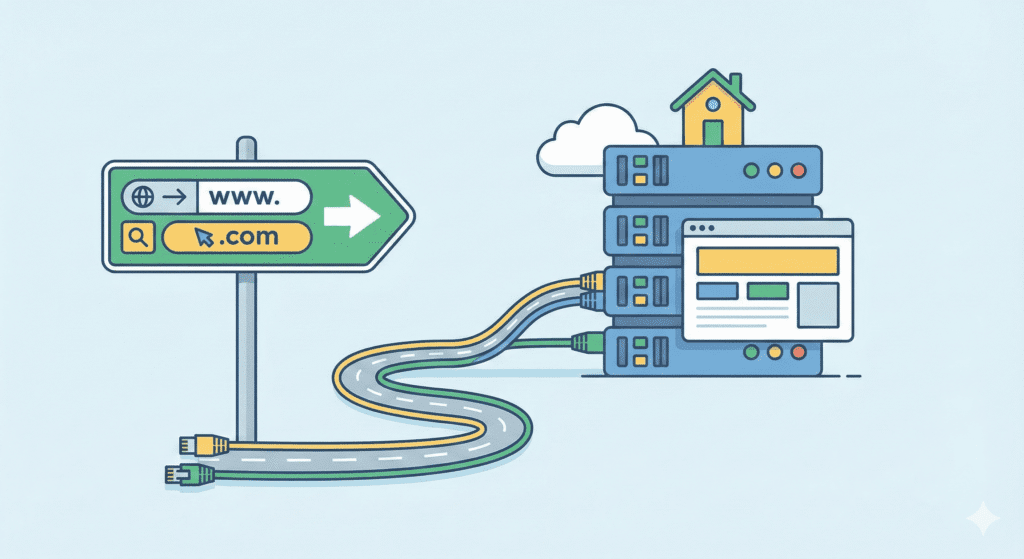
How it connects to your website
Your domain works with a server using the Domain Name System. When someone types your domain, the system sends them to the right hosting server where your site is stored.
Right now, if you just registered a domain, it may show a blank page or a parking page. That’s normal.
So yes, buying a domain is an important step, but you still need hosting to build your website.
Step 2: Choose a Web Hosting Provider
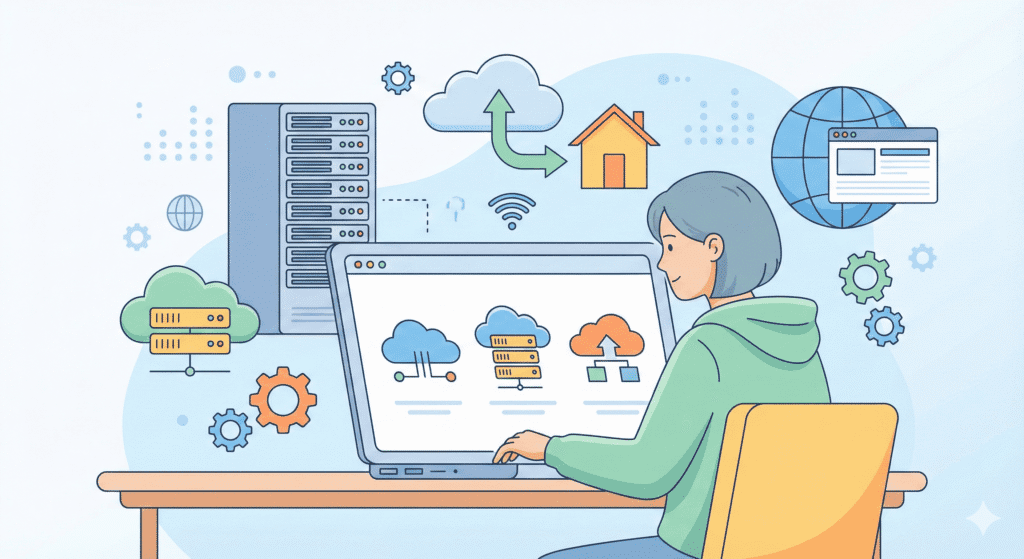
This is where your website will actually live.
Why hosting is needed
A web host provides space on a server to store your website files.
Without a hosting service, your domain can’t show a website.
So after buying a domain, the next step is choosing a hosting provider.
This is why people often talk about domain and hosting together.
What US beginners should look for
From what I’ve noticed, most US beginners do best with:
- Simple setup
- Affordable hosting plans
- Good customer support
- US-based servers for better speed
When choosing a web host, look for:
- Easy WordPress hosting
- A free SSL certificate
- One-click website builder or installer
- Clear pricing on the web hosting plan
Many start with shared hosting because it’s cheap and beginner-friendly. Later, you can move to cloud hosting if your site grows.
Once you sign up, you’ll get:
- A hosting account
- Access to a server
- Tools to create a website
This is where your new website will live.
Personally, I feel choosing the right hosting provider at the start saves a lot of stress later.
Step 3: Connect Your Domain to Hosting (DNS Setup)

Now that you have a web host and a hosting plan, it’s time to connect your domain to your hosting account.
This step is called pointing your domain.
What DNS means
DNS stands for Domain Name System.
Let’s keep it simple.
DNS tells the internet:
“When someone types this domain name, send them to this server.”
Right now, your domain is sitting at your domain registrar.
Your website files are sitting on your web hosting server.
DNS connects the two.
How to point your domain to your host
Most hosting providers give you:
- Two nameservers (like: ns1.host.com, ns2.host.com)
Here’s what you usually do:
- Log in to your domain account at the domain registrar
- Find DNS or nameserver settings
- Replace the old nameservers with your host’s nameservers
- Save changes
That’s it.
This connects your domain to your hosting provider.
It may take a few hours for the domain to work. In some cases, it can take up to 24–48 hours, but often it’s much faster.
Here’s what I noticed:
Beginners worry when nothing happens right away. Totally normal. Just give it time.
Once DNS is done, your domain and website are officially linked.
This is a big moment after you’ve bought a domain.
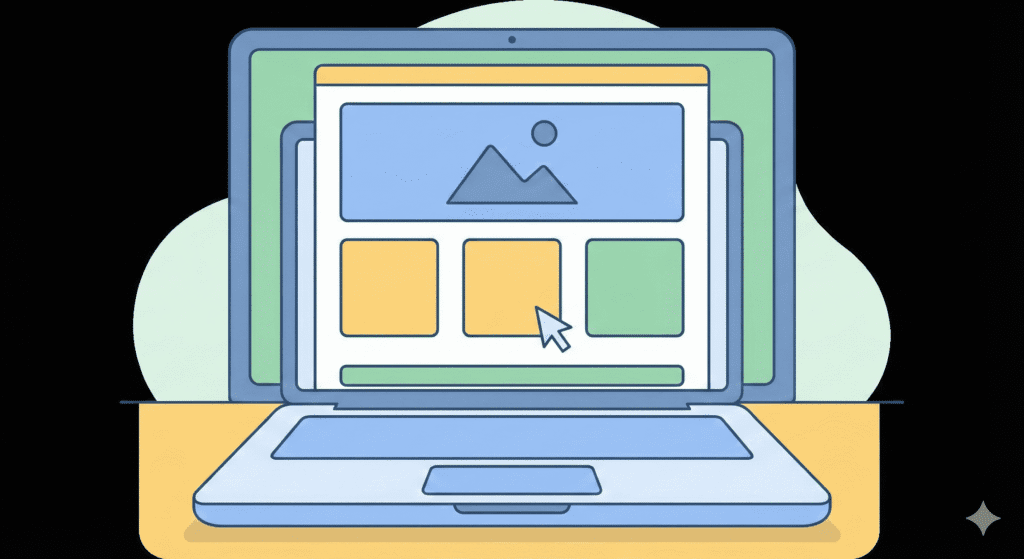
Step 4: Set Up Your Website Platform
Now comes the fun part – actually building something.
WordPress and other options
Your hosting service will let you choose a platform to build your website.
The most popular option is WordPress.
Why?
- Easy for beginners
- Tons of themes and plugins
- Works with almost every web host
- Great for blogs, small businesses, and content sites
Other platforms exist, but from my research, WordPress is what most US beginners stick with.
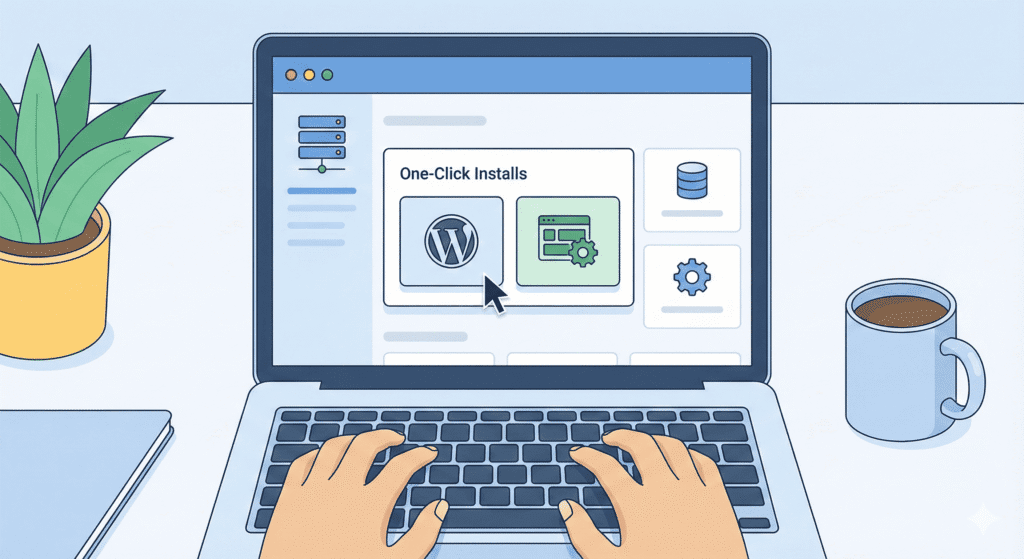
One-click installs
Most web hosting plans come with:
- One-click WordPress installation
- Or a simple website builder
Inside your hosting account, you’ll usually see:
“Install WordPress” or “Create Website”.
Click it, follow the steps, and in a few minutes:
- Your new website is live
- Your platform is ready
- You can log in and start working
No coding. No web developer needed.
This is where you truly start to build your website.
Why this step matters for your brand
Once your platform is ready, your domain name now shows a real site.
That’s when your brand starts to feel real.
You’ve moved from just owning a domain to actually using your domain to build an online presence.
Personally, I feel this is the moment where most beginners finally think,
“Okay… this is actually happening.”
At this point, you have:
✔ Purchased a domain
✔ Chosen a web host
✔ Connected your domain to your hosting server
✔ Installed a website platform
You’re halfway there.
Step 5: Create a Basic Website Structure
Now that your platform is ready, it’s time to shape your new website.
This step is about giving your domain something useful to show.
Pages to start with
Most beginners in the US start with just a few simple pages:
- Home – what your site is about
- About – who you are and why you exist
- Contact – how people can reach you
That’s enough to begin.
If you’re building for products or services, you can later add:
- Services
- Blog
- Pricing
But let’s keep it simple for now.
Here’s the thing:
A clean start is better than trying to build everything at once.
Your website builder or WordPress platform will let you create menus.
Add your main pages to the top menu so visitors can move around easily.
This helps:
- User experience
- Trust
- Search engine understanding
From my research, many beginners forget navigation and end up confusing visitors. Don’t do that.
Even a small site should feel organized.
Start adding real content
You don’t need perfect text on day one.
Just:
- Write a short welcome message
- Explain what your brand is about
- Add a way to contact you
Your goal is to turn that domain name into something real.
At this point, you’re no longer just owning a domain.
You’re actively building your online presence.
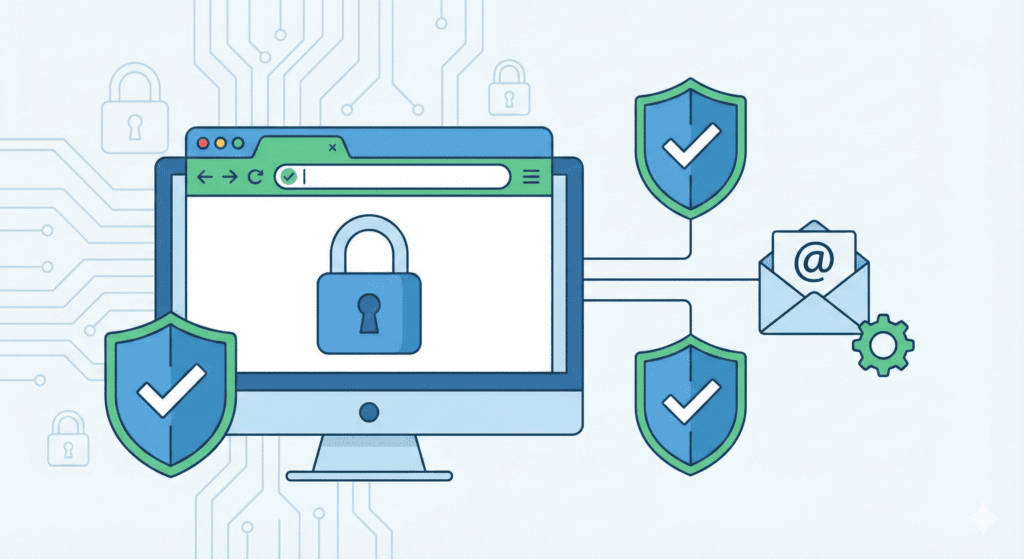
Step 6: Secure and Prepare Your Domain and Site
Now this is where many beginners slow down. But don’t skip this step.
Security and setup protect your hard work.
Enable SSL
An SSL certificate makes your site use HTTPS.
Why it matters:
- Builds trust
- Protects data
- Helps with search engine ranking
Most hosting providers include free SSL in their hosting plan.
Inside your hosting account, look for:
“Enable SSL” or “Security”.
Click it. Done.
Your domain now shows as: https://yourdomain.com
That’s a good sign.
Set up a business email address
Instead of: you@gmail.com
Use: you@yourdomain.com
This looks more professional for your brand.
Most web hosting service plans include email services.
Set up at least one email address tied to your domain:
- info@yourdomain.com
- contact@yourdomain.com
It helps you build trust with visitors and customers.
Turn on basic security
You don’t need advanced tools yet.
Just:
- Use strong passwords
- Keep WordPress updated
- Enable any basic security option your host offers
From my experience helping beginners, weak passwords are one of the most common mistakes.
Don’t make it easy for someone to break in.
Keep your domain safe
At your domain registrar:
- Turn on domain privacy protection
- Make sure auto-renew is enabled
You don’t want to lose your domain because you forgot a renewal.
That would hurt.
Now you’ve:
✔ Built basic pages
✔ Designed your website structure
✔ Enabled SSL
✔ Created an email address with your domain
✔ Added basic security
Your domain and website are now live and usable.
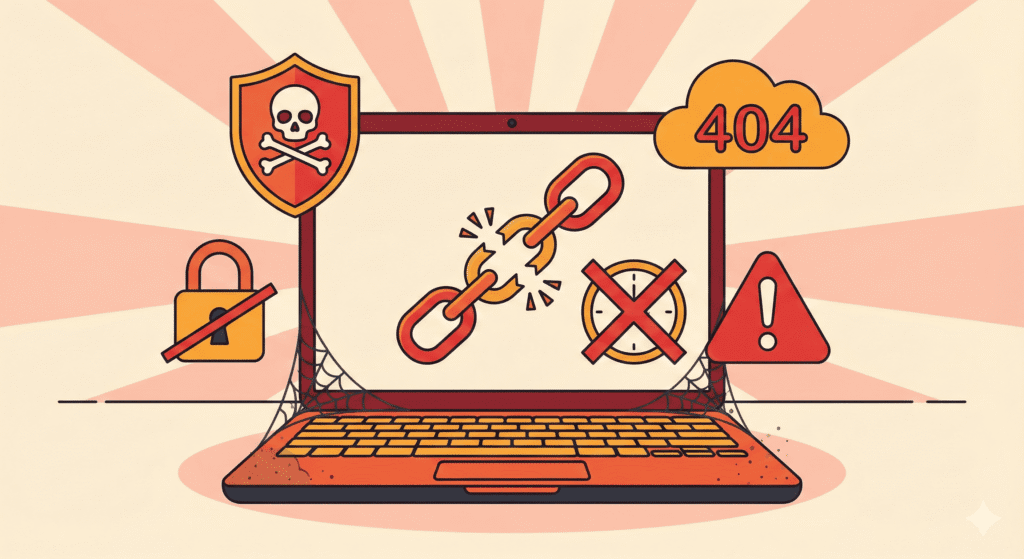
What NOT to Do After Buying a Domain
You’ve bought a domain, set up hosting, and started building. Now, let’s talk about what not to do.
Don’t leave it unused too long
A new domain sitting empty does nothing for your brand or online presence.
If you’ve purchased a domain, even a simple page is better than nothing.
It tells search engines and visitors that your website is alive.
Don’t ignore renewal dates
Domains expire.
If you forget to renew:
- You can lose your domain name
- Someone else might buy it
- Your website and email address can stop working
Turn on auto-renew at your domain registrar. Seriously.
Don’t skip security
It’s tempting to think:
“My site is small. Who would target it?”
Honestly, bots don’t care.
They scan every server.
So:
- Keep WordPress updated
- Use strong passwords
- Keep SSL on
Protecting your domain and site is an important step.
Common Mistakes Beginners Make After Buying a Domain
Here are a few I see all the time:
- Forgetting to add hosting
Buying a domain without a web host means no website. - Misconfiguring DNS
Wrong nameservers = your domain won’t connect. - Not building anything
Owning a domain but never using it. - Overthinking everything
Waiting for “perfect” before starting.
Let’s be real for a second…
Progress beats perfection.
FAQs – After Buying a Domain
Do I need hosting right away?
In most cases, yes.
If you want to create a website, your domain needs a hosting service.
How long does DNS take to update?
Usually a few minutes to a few hours. Sometimes up to 24–48 hours.
This is normal.
Can I move my domain later?
Yes. You can transfer a domain to another registrar or connect it to a new web host anytime.
What if I bought the wrong domain?
You can:
- Buy a new domain name
- Redirect the old one
- Or sell it later
It happens. Don’t stress too much.
Steps to take after buying a domain and web hosting account
After purchasing a new domain and web hosting account, first confirm your domain registration and hosting payment, then connect the domain name to your hosting service (update nameservers or point A records), and set up basic website creation tools like a CMS or site builder so you can start building your website.
How do I connect the domain name to my hosting plan and put that domain name to work?
To connect your domain name to your hosting plan, log into the domain registrar where you registered your domain name and change the nameservers to those provided by your hosting provider or update DNS records to point to one server IP; once DNS propagates, you can upload files, install a CMS, and use your domain for a website and email address using your domain.
What essential steps should I follow to secure your domain and protect your domain after buying web hosting?
Secure your domain by enabling domain privacy, turning on two-factor authentication at your registrar and hosting account, locking the domain to prevent unauthorized transfers, and keeping contact details current; also secure your website with an SSL certificate provided by your hosting service to protect visitors and improve search engine trust.
How can I start building my website and use my domain for website creation?
Start building your website by choosing a platform (WordPress, site builders, or custom code), install it on your hosting service, choose a theme or template, create key pages, and publish; make sure your domain with your hosting resolves correctly so visitors can use your domain name to access the new website.
Yes – create social media accounts and try to match your social media handles to your business name or domain name to build a consistent online presence; this helps promotion efforts and makes it easier to promote your website across channels and associate profiles with your domain portfolio.
How do I manage domain management tasks like renewing, transferring, or selling your domain?
Manage your domain by setting auto-renew at the registrar, keeping WHOIS information accurate, and knowing transfer rules if you plan on selling your domain; if selling your domain, prepare authorization codes and move it securely to the buyer’s registrar while coordinating DNS downtime with your hosting account.
Can I use an existing domain with my new hosting service or should I register a domain name through my host?
You can use an existing domain by updating its DNS records to point to your new hosting service, or you can register a domain name through your host when purchasing hosting; consider a free domain offer carefully, and ensure the domain name helps your brand and matches your business name for cohesive branding.
What are the marketing and next steps to promote your website after setting up hosting?
After your website and domain are connected, set up analytics and search engine tools, create content for key pages, register your site with search engines, share links via social media handles, set up email address using your domain for professional contact, and plan ongoing promotion and SEO to drive traffic.
What Should You Do Next After These Steps?
Now that your domain and website are live, here are your next steps:
Start adding content
Add:
- A few pages
- Maybe your first blog post
- Clear info about your products or services
This helps your site grow.
Learn basic SEO
Simple things like:
- Page titles
- Headings
- Good content
Help search engines understand your website.
You don’t need advanced SEO yet. Just basics.
Monitor performance
Check:
- Is your website loading fine?
- Any errors?
- Emails working?
Your hosting account dashboard will show most of this.
From my research, beginners who check their site once a week avoid many problems early.
Final Thoughts
So, you bought a domain. Now what?
Bottom line?
Your domain is just the beginning.
What matters is what you build on it.
If you:
- Choose a good web host
- Set up hosting properly
- Connect your domain
- Build simple pages
- Secure everything
You’re already ahead of most beginners.
If you’re in the US and just starting out, don’t wait for everything to be perfect.
Start small.
Keep learning.
And most of all – actually use your domain.
That’s how a simple purchase turns into a real website and a real brand.